Publish Package to Vault
You can use Creator Hub to upload packages (such as maps, worlds, characters, and addons) created using Creator Kit to the Vault.
👉 Access Creator Hub here: hub.helixgame.com/dashboard/packages/manager
Follow the steps below to upload a package.
1. Create a New Package
-
From the Package Management page, click Create Package (top right).

-
Fill in the following fields:
- Package Name – The display name of your package.
- URL Slug – A short, unique identifier (lowercase, no spaces, use dashes if needed).
- Description – Write a short summary of what your package does or contains.
- Package Type – Select from:
- Map
- Character
- Addon
- Wearable
- Script
- Other
- Content Rating – Choose the appropriate age rating:
- Everyone
- Teen
- Mature
- Adult
- Tags (Optional) – Add relevant tags to help with discoverability.

2. Add Preview Images
- Upload one or more images to showcase your package.
- Supported formats: JPEG, PNG, WebP
- Images appear in the order you add them.
- At least one preview image is recommended.

3. Upload Package Files
For Script Packages
You must upload your Script package as a single zip file. The archive should be organized in one of two ways:
- Signle Lua package – The
package.jsonfile must be in the archive's root, with folders such as Server, Client, and Shared alongside it. - Multiple Lua sub-packages – The archive must contain one or multiple folders, each of which is treated as a Lua package in the same way as subfolders in
Workspace/scripts/. Aconfig.jsonfile may also be included, but it is optional.
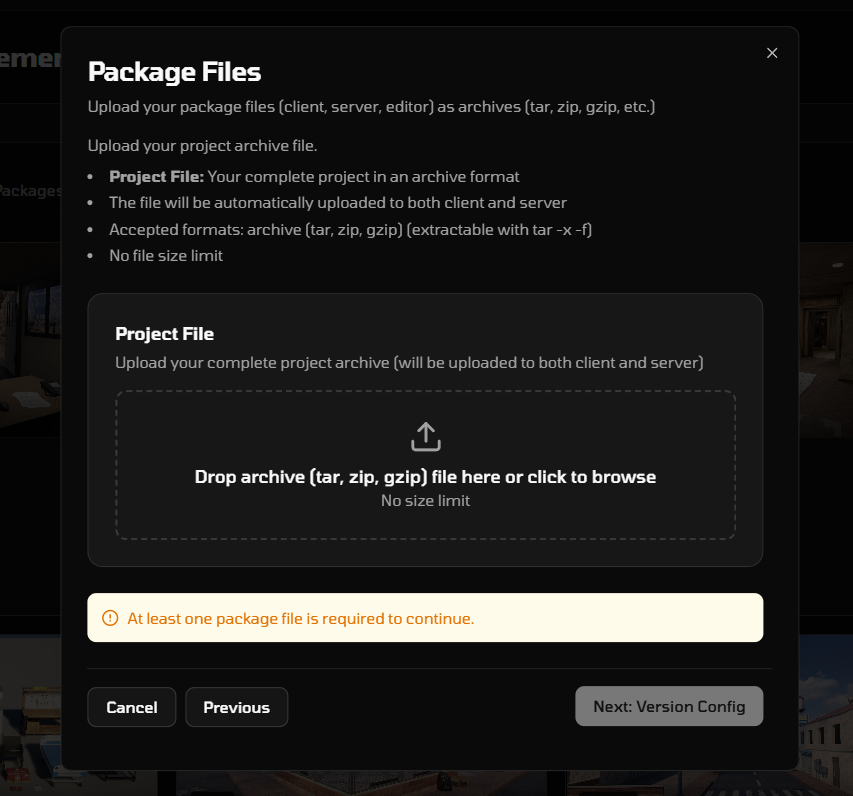
For Other Packages (Addon, Map, etc)
You must upload at least one package file. All files must be in PAK format.
- Client Files – Files that run on the user’s device.
- Server Files – Backend logic that runs on the server.
- Editor Files – Tools or development resources.

4. Version Config
Upload a config.json file if your package type requires one.

5. Add Dependencies (Optional)
If your package depends on other packages:
- Click Add Dependency.
- Search by package name.
- Select the required version.
Dependencies can also be added later.

6. Finalize Upload
- Review all entered information.
- Confirm and upload your package.
